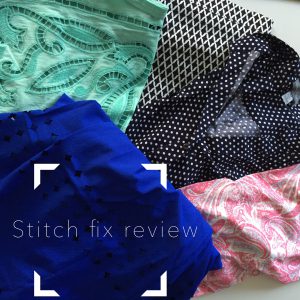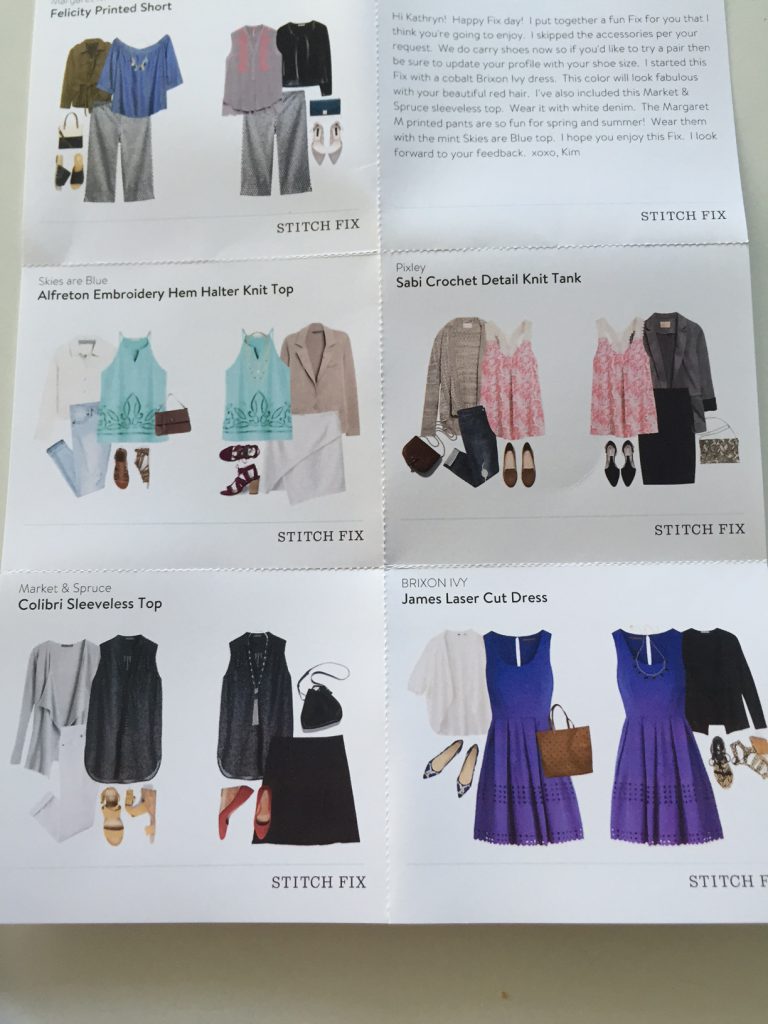
Stitch Fix Review – April 2016

IMG_4247Stitch fix – a mixed bag, or should I say box?

Quick intro to what stitch fix is: A subscription (or whenever you want to order a box) service for clothes and accessories. When you sign up you answer a few questions on your sizes, preferences, colors, and fill out a little note about yourself and your style. From there, you’re paired with a stylist – you never actually get to interact with this person 1 on 1 – who fills up a box with 5 items and sends it your way. You are given an opportunity to write a little note to your stylist requesting or suggesting items, each time you schedule a fix.

IMG_4233

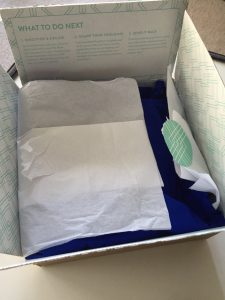
Once you get the box, you try on the items, and send back whatever you don’t want within 3 days. A $20 styling fee is applied per box that you order. If you purchase anything, you’ll get that $20 off your “fix” total. If you find yourself in love with your fix and purchase all 5 items, you’ll get a 25% discount off your total bill. Most items I’ve received are between $40-100 (you can control how much you want to spend per item, but I’ve found most of my items tend to be on the pricer end). When you go to checkout you leave feedback for each item, helping your stylist improve for next time.

IMG_4234

A couple of weeks ago I  received my 4th fix. I’ve been meaning to write this post for a while, but work got in the way. For this fix I asked for no accessories. Last time I received a massive clutch, bigger than my head (I’m not a clutch person), and from there on I decided I was going to veto accessories and get clothes, which I care more about. This time around I asked for 3 tops, 1 bottom, and 1 dress, providing a link to a brand new Pinterest board (Review Board) I created specifically for my stylist. For my previous 3 fixes I left everything up to the stylist, simply suggesting I wanted stuff I could wear to work and to go out with friends in the evening, but this time I wanted to show her pieces I’m interested in.

Before I go further, I wanted to mention that my Pinterest board is mostly pins of clothes that Stitch Fix actually ships out to customers. There’s this handy dandy Facebook group where a bunch of ladies post pictures of the clothes they received. You can even trade, buy, or sell your Stitch Fix goodies in the group. Searching Pinterest I found a lot of the group members posted these pictures to Pinterest as well, so I just use those as inspiration.

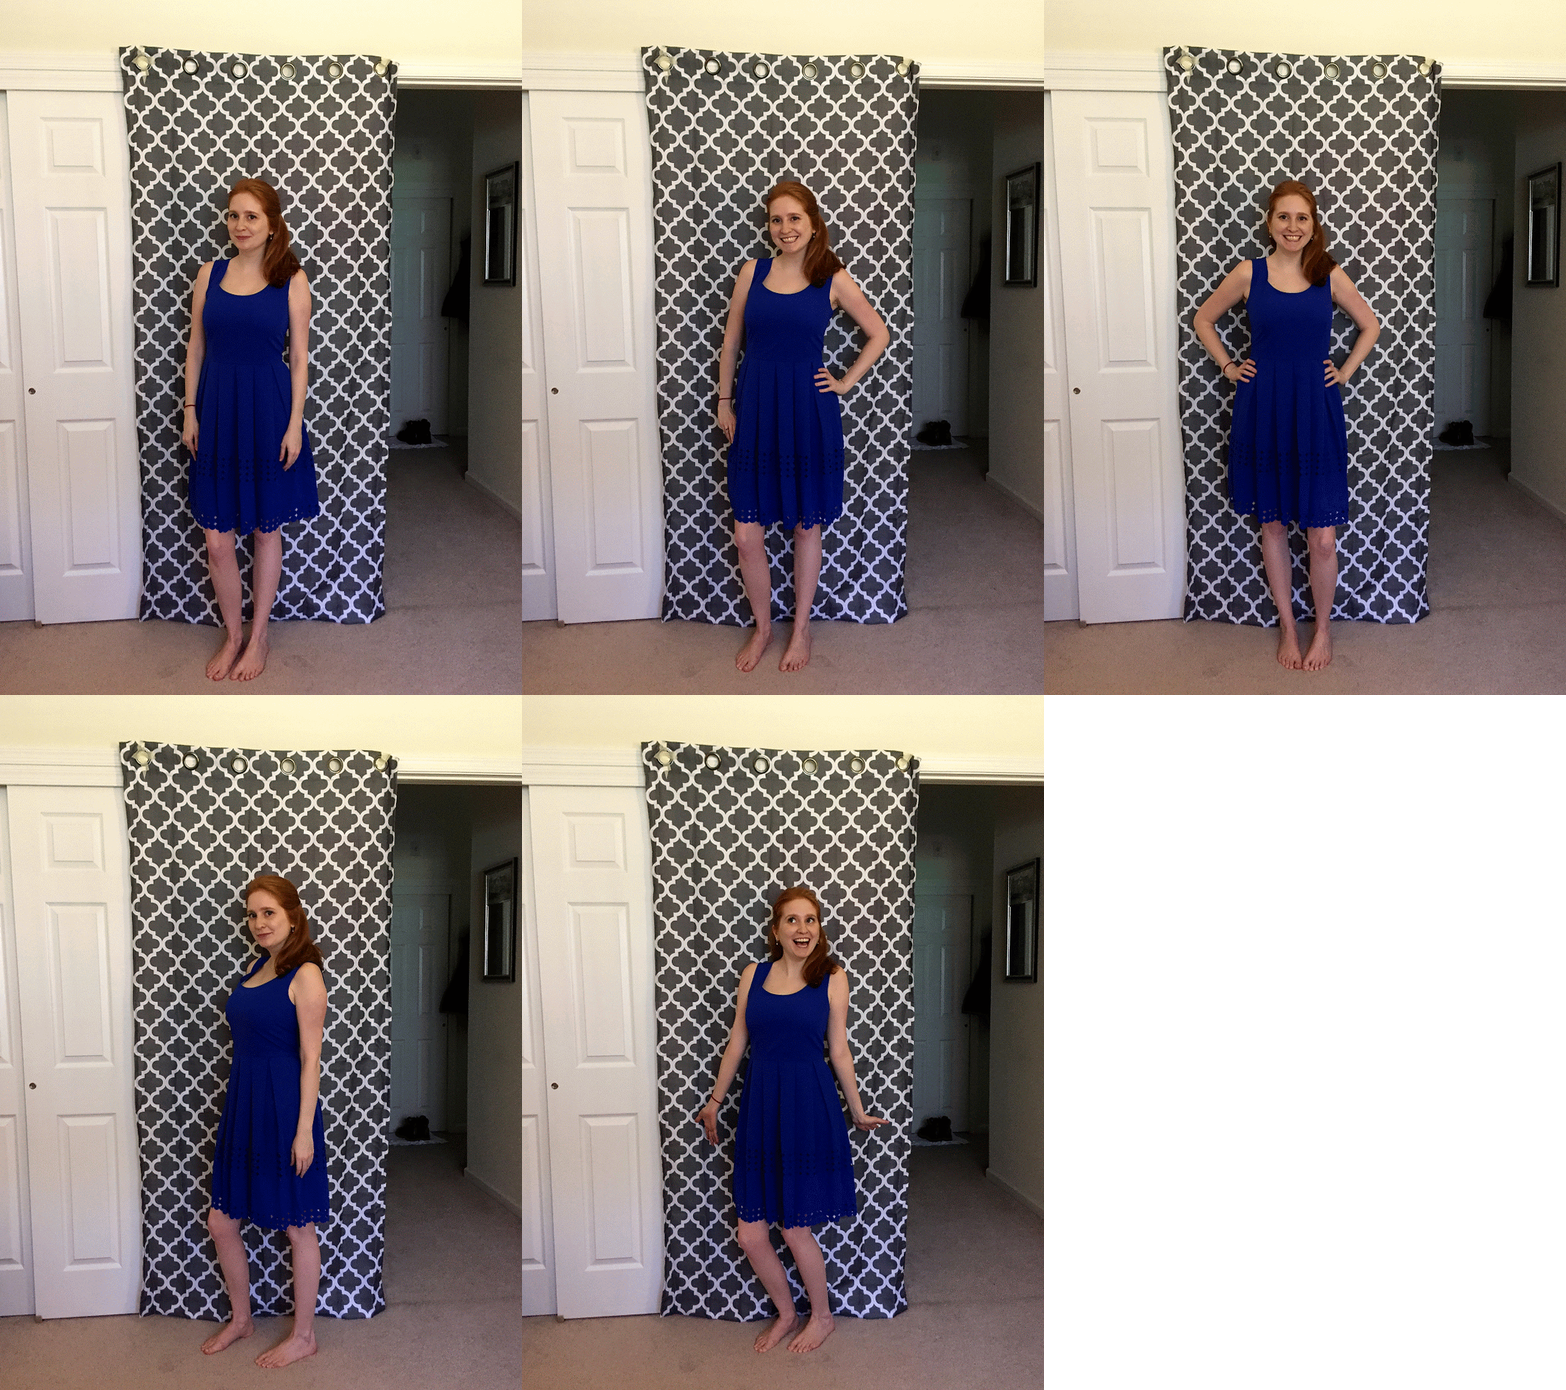
I was really hoping I would get some of the amazing tops I pinned, but alas, not a single item from my board was shipped my way. Out of the 5 items I received, 2 were keepers. I didn’t take pictures of them all individually because some fit really poorly. What I did end up keeping was a pair of Margaret M Felicity Printed Short, and a James Laser Cut Dress bright blue lightweight summery dress by Brixon Ivy.

When I first pulled out the shorts I wasn’t sure about the length. I couldn’t tell where they should hit me so I took to Google to see if I could find a picture of someone in them, no real luck there. So, for all your Stitchers receiving these pants, I figured I would post a picture myself so you can get an idea of how they look.

IMG_4347
Margaret M – Felicity Printed Shorts

Now for the dress. The fabric is really interesting feeling and very lightweight. The only thing I can really compare it to is sports mesh like material, but it’s not that! I think this would be perfect for the office or for going out to see a show and dinner in the city.

IMG_4369
Brixon Ivy – James Laser Cut Dress

Next time I’m going to explicitly call out certain Stitch Fix items I want by name, hopefully that will do the trick!

IMG_4357-ANIMATION

Follow my blog with Bloglovin

Continue Reading

10 of the Best Products for Redheads

redhead-poster

As a redhead, it can be challenging to find products that are actually designed specifically for redheads. I get it, we’re said to make up roughly 2% of the population, but that doesn’t mean the world doesn’t need redhead products! I’ve rounded up 10 of my favorite redhead products just for you, and yes I’m a natural redhead and use all the products below.

Olay 7 Effects moisturizer with 30 SPF

IMG_4566

Redheads have super sensitive skin. To keep your skin fresh, moisturized, and safe from the sun, try a moisturizer like this to keep your skin looking great year round.

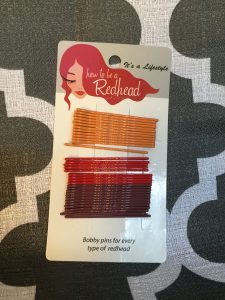
How to be a redhead bobby pins
IMG_4569

There’s an amazing site called “How to be a Redhead,” and they sell products specifically designed for those of us with red hair! This bobby pin set features three different shades, perfect for any redhead, natural or not. Get them here!

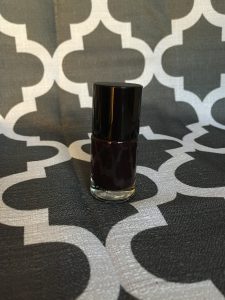
Adesse New York – 175 Fifth Avenue Purple nail polish
IMG_4565

Purple is the perfect shade for redheads, and this nail polish is divine. It’s a really deep purple that looks romantic and classy at the same time. It’s a must have!

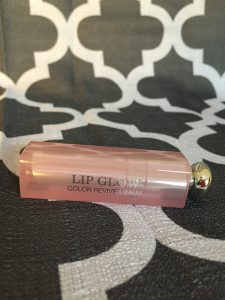
Dior Pink Lip Glow
IMG_4567

Finding the right lip color can be a challenge due to a natural redhead’s pale complexion. Dior’s Lip Glow is perfect because it enhances your own natural lip color, almost creating a personalized color just for you. It also moisturizes, a big plus in my book.

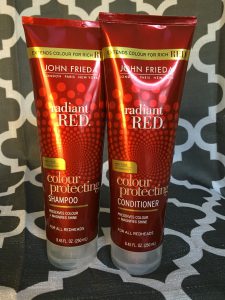
John Frieda Radiant Red Shampoo and Conditioner
IMG_4571
Finally a redhead shampoo and conditioner that isn’t color depositing. While a lot of fellow redheads (fake and natural) opt for a color depositing shampoo or conditioner, I’m too hesitant to give it a try, fearful my locks may end up a different color. John Frieda’s Radiant Red isn’t color depositing and adds a beautiful vibrancy to your hair.

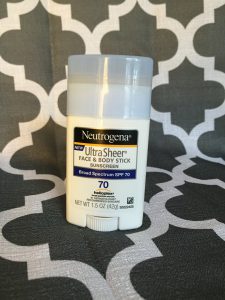
Neutrogena Face and Body Stick – 70 SPF
IMG_4568
Redheads can’t have enough sunscreen. This Face and Body stick by Neutrogena goes on smoothly and you don’t even need to use your fingers, just rub the stick on your skin and you’re good to go.

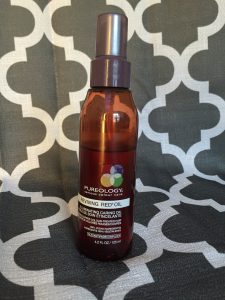
Pureology Reviving Red Oil
IMG_4564
This product is typically marketed to those with dyed red hair but I still love it. It leaves my hair vibrant and shiny without depositing color.

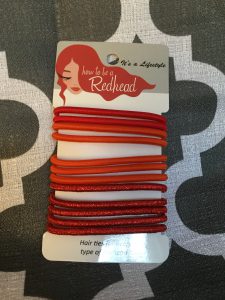
How to be a Redhead hair ties
IMG_4570

Just like the bobby pins above, these colorful hair ties come in three different shades of red, and look cuter than the typical black hair tie a lot of us are used to. Keep an eye out from them at the How to be a Redhead shop.

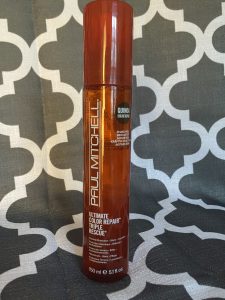
Paul Mitchell Ultimate Color Repair Triple Rescue
IMG_4563
This Triple Rescue spray not only gives you thermal protection we all need when styling our hair, but leaves your hair shiny, less dull looking, and healthy.

Glossier soothing face mist

IMG_4572
As mentioned above, natural redheads have sensitive skin. I discovered this Smoothing Face Mist after watching an episode of the Wendy Williams show. This mist smells amazing! The rose scent is light and refreshing. You’ll quickly fall in love with the weightlessness and aroma of this spray all while it keeps you moisturized and feeling fresh. A great product to use after working out!

Bonus Recommendation! 
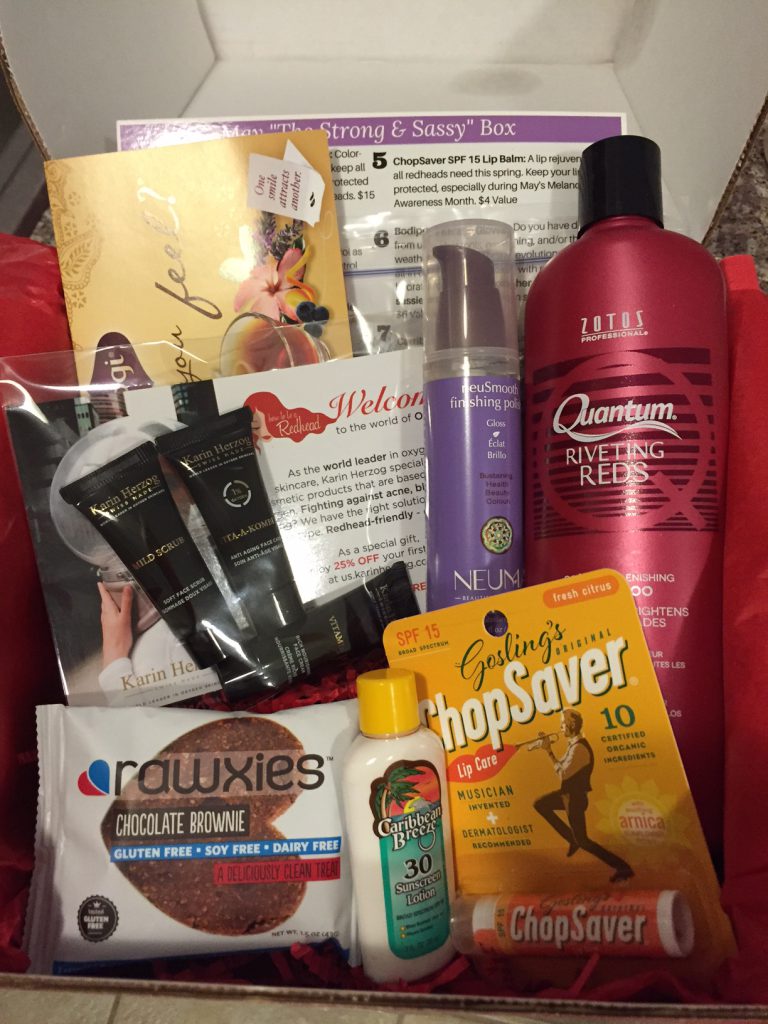
While the title of this post mentions 10 products, I just had to include a very special product as a bonus recommendation – the How to be a Redhead Beauty Box. It’s the only redhead subscription box that I know of and it’s amazing! For $18.98 a month I get a handful of products sent to me. Some products are sample size, but I’ve lucked out and received a number of full size products. In fact, a lot of the products I listed above were items I discovered while being a subscriber. If you’re a natural redhead, I would highly recommend checking it out because you never know what you might discover 🙂
IMG_4304

IMG_4303

Follow my blog with Bloglovin
Continue Reading

DIY – Painted Wooden Vase

IMG_4287

For the past few months I’ve been interested in home decor, sprucing up our apartment, and finding creative ways to add color and something unexpected to our home.

One piece that would always catch my eye is a painted/dipped wooden vase. Instead of paying $40+ on a painted wooden vase, I challenged myself to make my own. It’s a simple and fun activity you can do at home cheaply.

Here’s what you’ll need:

IMG_4250

  • 2 wooden vases (different shapes/sizes recommended)
  • 1 paint brush and 1 sponge brush
  • glue
  • 2 paint colors of your choice
  • 2 glitter colors that match your paint choices
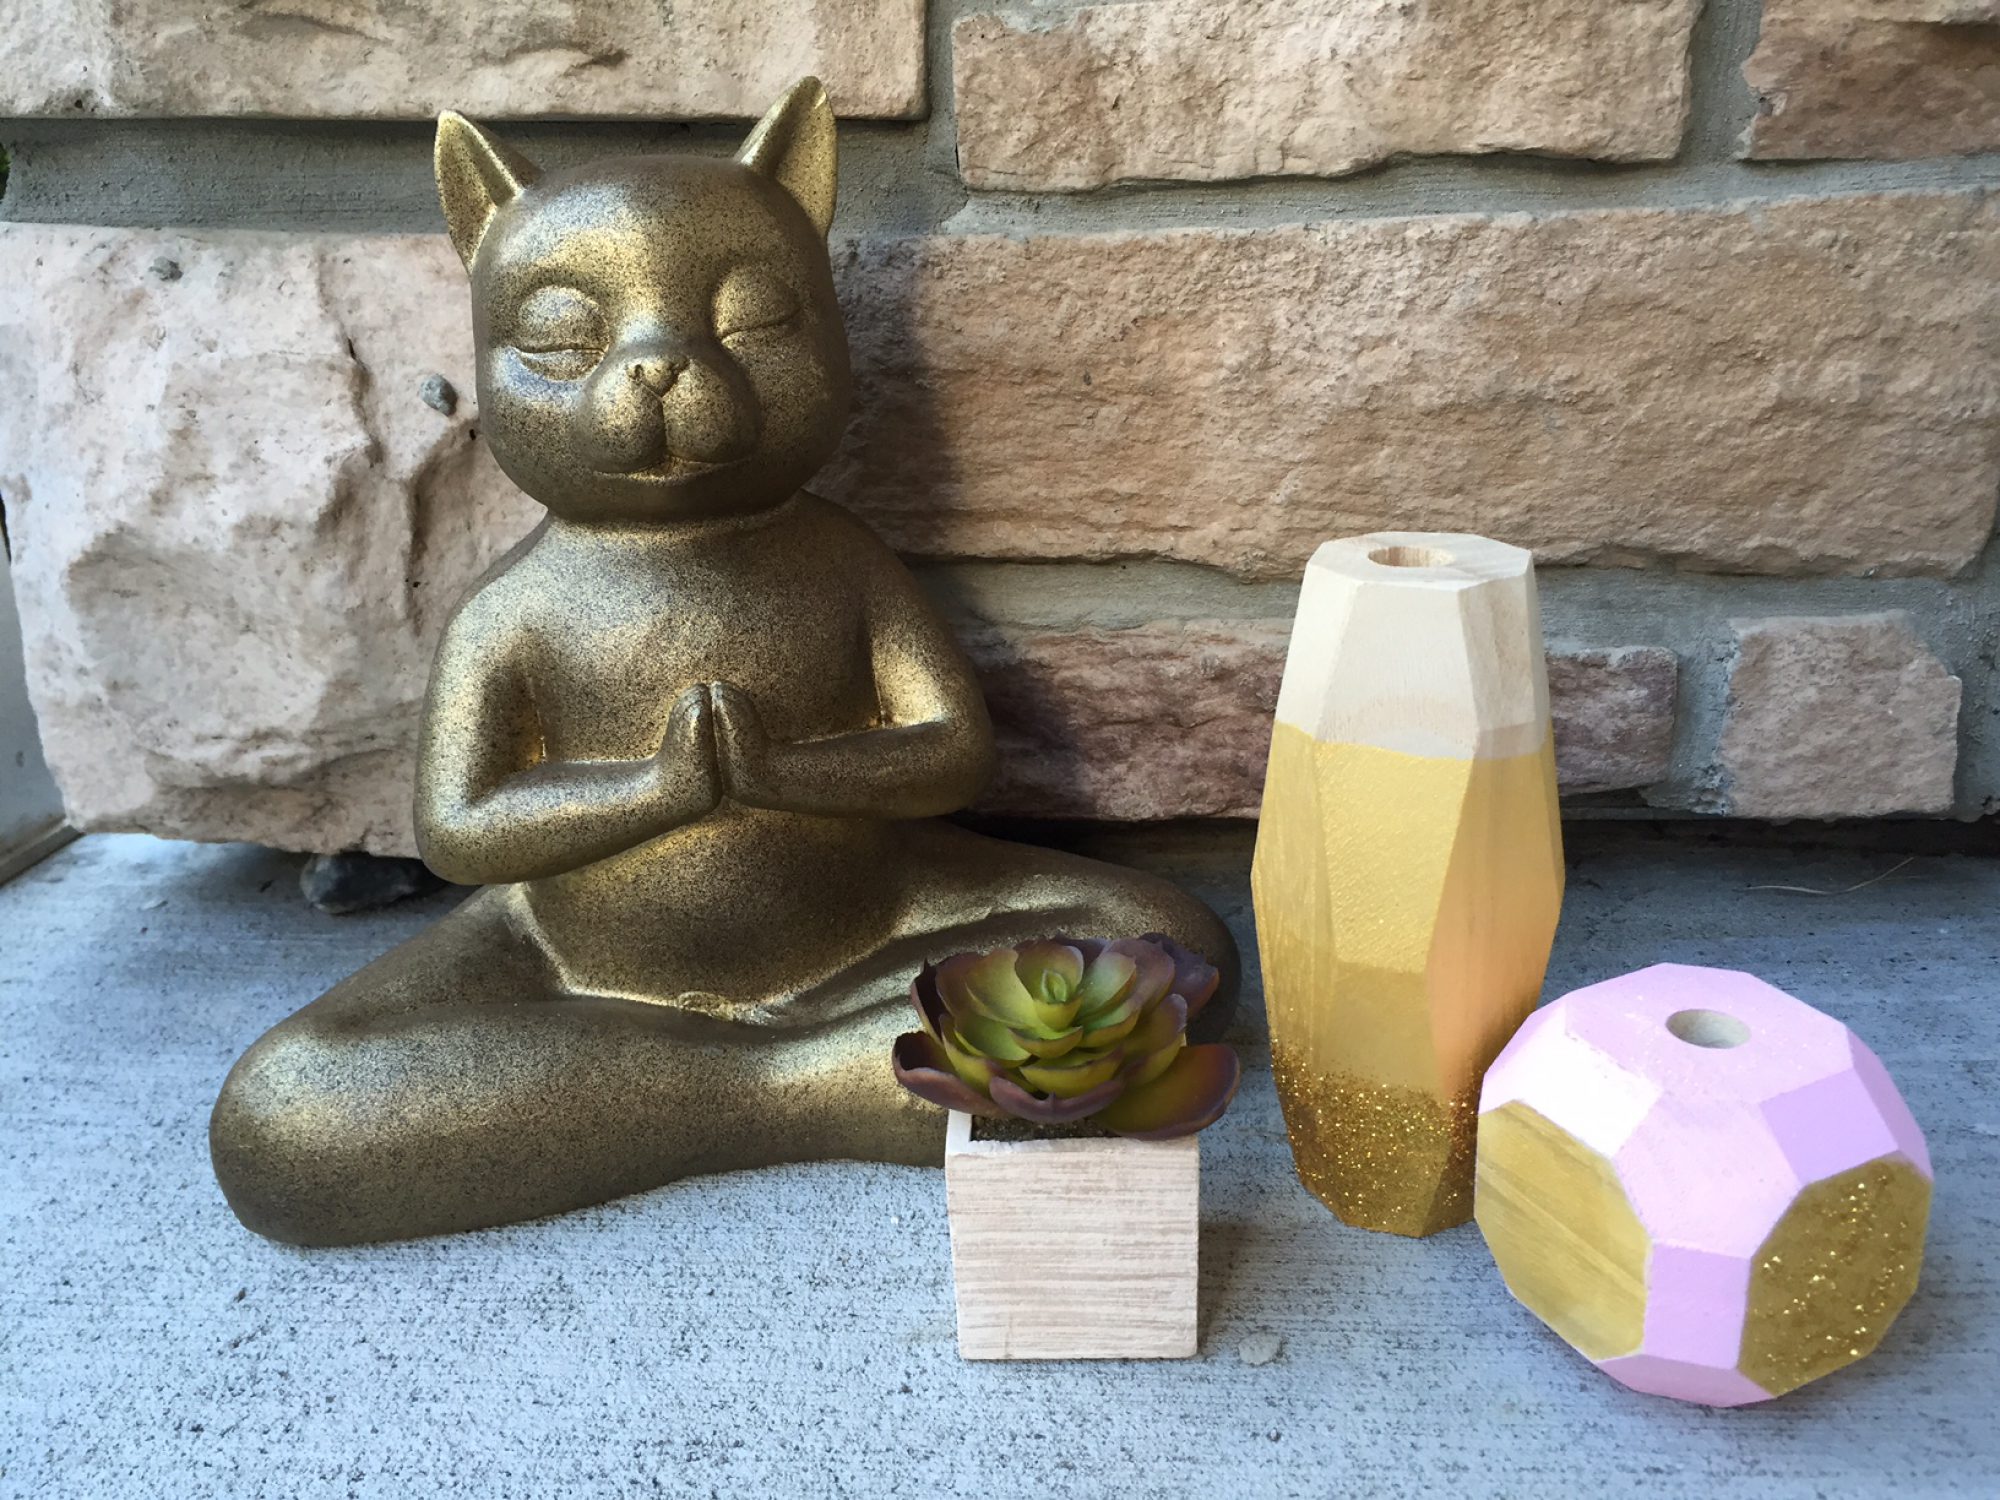
Remember to bring along a furry friend/helper to add to the fun.

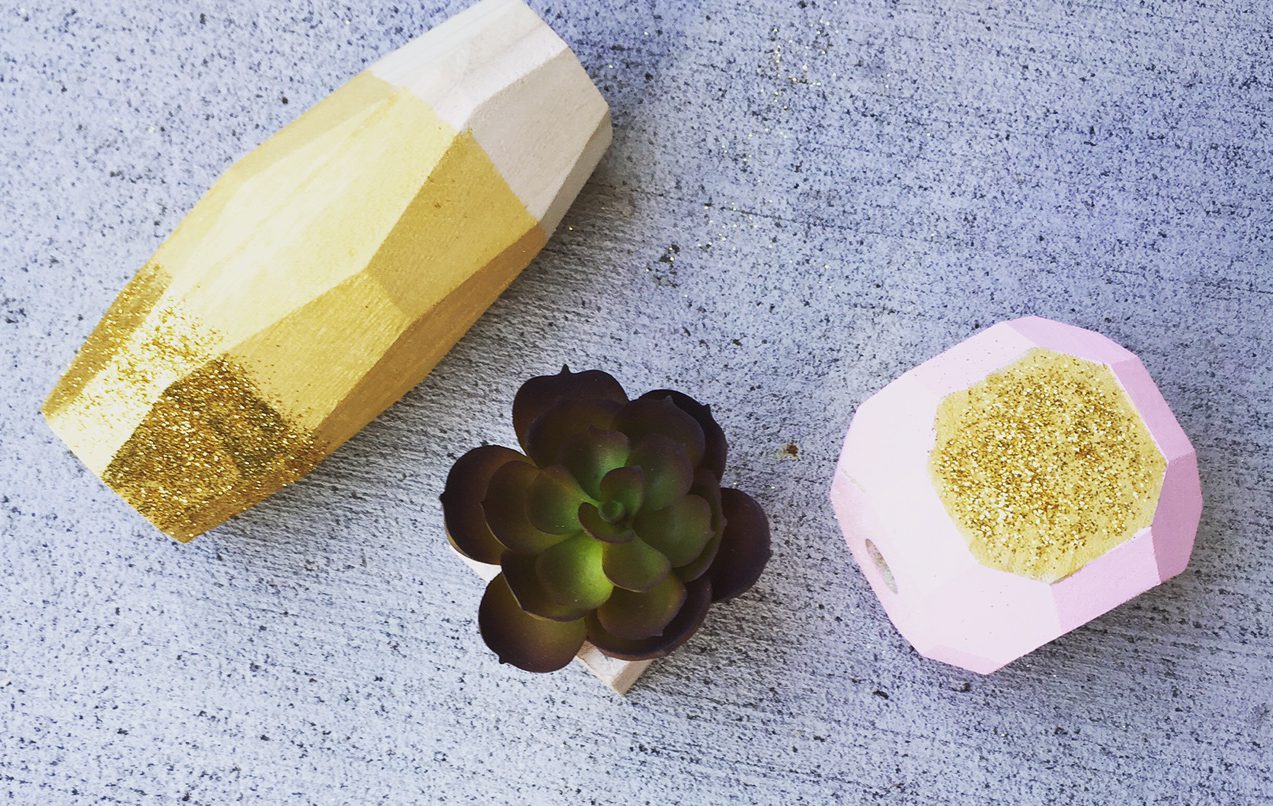
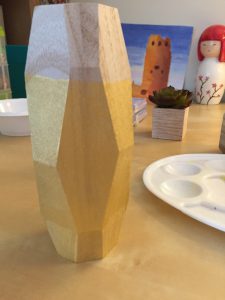
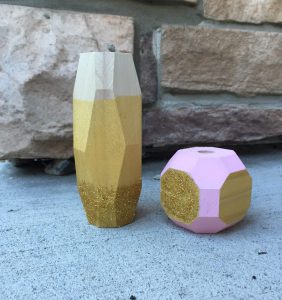
For my vases, I decided to go with gold and pink as my colors, one of my favorite color combos at the moment. Begin by choosing how far up the vase you want color. I wanted to show some of the natural wood color with my vase, so I painted everything but 1/3 of the vase gold.

IMG_4251

Let the paint dry on your first vase before adding any desired glitter, and start on your second vase.

IMG_4261

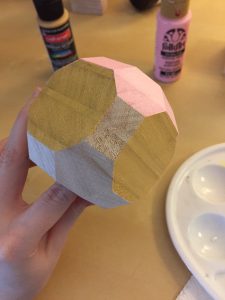
My second vase features both colors. I recommend painting one section at a time, starting from the bottom. Make use of the vase opening to paint the different sections without getting paint on your table or accidentally sticking your fingers in the fresh paint.

Once all is dried, it’s time to glitter! Make a glue + water mixture as we did in the sprinkle post, helping you easily smooth on glue with your sponge brush. Then sprinkle on the glitter.

IMG_4262

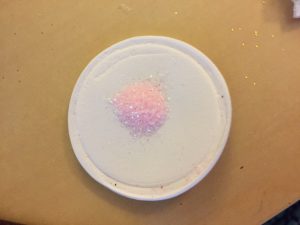
One trick I discovered was to use the little foam covers that are inside the lid of the glitter container to help control your glittering. Not only does this help minimize the amount of glitter you get on you (and we all know once it’s on you it’s there forever) but it’s a great guide to ensure your glitter doesn’t go on the wrong colored sections.

IMG_4281
Viola! There you have it!

cropped-IMG_4272.jpg

If you’re interested in using the same neat shaped wooden vases for your own project, I purchased everything at my local Michaels.

  1. Large “rtf wd geo-shape” vase – $4.99
  2. Small “rtf wd geo-shape” vase – $3.99
  3. Glitter stacker – $3.99
  4. Multi service paint – $1.49 each


Follow my blog with Bloglovin
Continue Reading

Sprinkle Art

IMG_4289

When I named my blog, A Sprinkle of Life, I knew that eventually I had to incorporate sprinkles somewhere. Today I created an easy craft using, you guessed it, sprinkles!

This activity is extremely easy to do, quick, and kid safe. What you’ll need:

  1.  One tiny canvas (4″x4″) – $2.99 at Michaels
  2. Sprinkles
  3. A small cup or container (I used a dixie cup from the bathroom)
  4. Elmer’s glue
  5. Plastic bowl
  6. Sponge brush

IMG_4263

Now let’s get started!

  1. First take your plastic bowl and squirt some glue into it (you don’t need a ton, so around 3 squirts should be fine).
  2. Add a splash, and I mean just a splash, of water into your bowl.
  3. Take your sponge brush and stir the glue and water together. Glue + water will give you a watery and easily smoothable  liquid which is great for brushing large surfaces (canvas, wood, cardboard, etc) without the extra stickiness that comes from using just glue.
  4. Lightly coat the canvas. Try doing just one pass or line on your canvas as you see above to see if your glue to water ratio is correct and will hold down sprinkles.
  5. Now take your small cup (or you could just use your fingers) and pour in a small amount of sprinkles.
  6. Lightly shake the cup of sprinkles over the canvas, keeping the sprinkles from piling on top of each other, creating a thin layer of sprinkles.
  7. Pat down very gently with one finger to ensure the sprinkles stick and then let sit to dry – that’s it!

IMG_4274

Follow my blog with Bloglovin
Continue Reading

A look back at recent weddings

IMG_4232In the past year I’ve attended three weddings, one having been just a couple of weeks ago. Going to weddings is a great way to gain ideas for your own wedding. While I’m not engaged yet, (still waiting…) I love to just absorb everything. Now onto the juicy stuff…

Buffet style cocktail hours need labels!
At the last wedding I attended there were a number of food items around the room but none of them had labels, nor were there wait staff present to let you know what was in the dish. I personally won’t feel too adventurous if the food on display isn’t labeled and is hard to distinguish. Keep in mind there might be people in the crowd with allergies or food sensitivities so labels just make sense.

The couple should always greet guests individually.
Most of the couples at the weddings I’ve attended have come around to each table and greeted guests, thanking them for coming, but one couple didn’t which I found to be a bit disappointing. Sure, you may not know everyone really well (or in some cases at all) but saying “hi” and “thank you” is a pretty painless thing to do. I find this to be a great touch, and makes your guests feel important and appreciated. I really felt touched by my friends who made this effort and I’ll remember to reciprocate when my day comes too.

Guests are going to touch your centerpieces.
Guests are always curious when it comes to elaborate centerpieces – are they real or are they fake? Flowers are crazy expensive, so I understand why some couples opt to go down the fake flower route, at least for their centerpieces. Just expect people to touch your centerpieces out of curiosity. If you’re cool with that, power to you!


Follow my blog with Bloglovin
Continue Reading