Cupcakes in the City – Billy’s Bakery

IMG_4614

Who doesn’t enjoy a cupcake? They’re portable, cute, and just the right size – no guilt here!

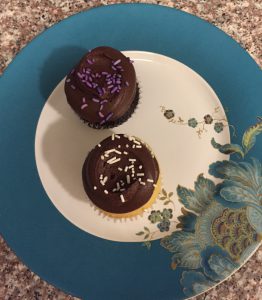
This is the first installment of a new series called Cupcakes in the City. I’ll be exploring local bakeries here in NYC to see who has some of the yummiest cupcakes in town. My office is conveniently located near several bakeries, so that’s where I’ll start my cupcake exploration. For tasting purposes, I’ll be focusing on the old fashion chocolate and vanilla cupcakes. My boyfriend will be our vanilla taster since I’m not really a fan, while I devour the chocolate cupcakes.

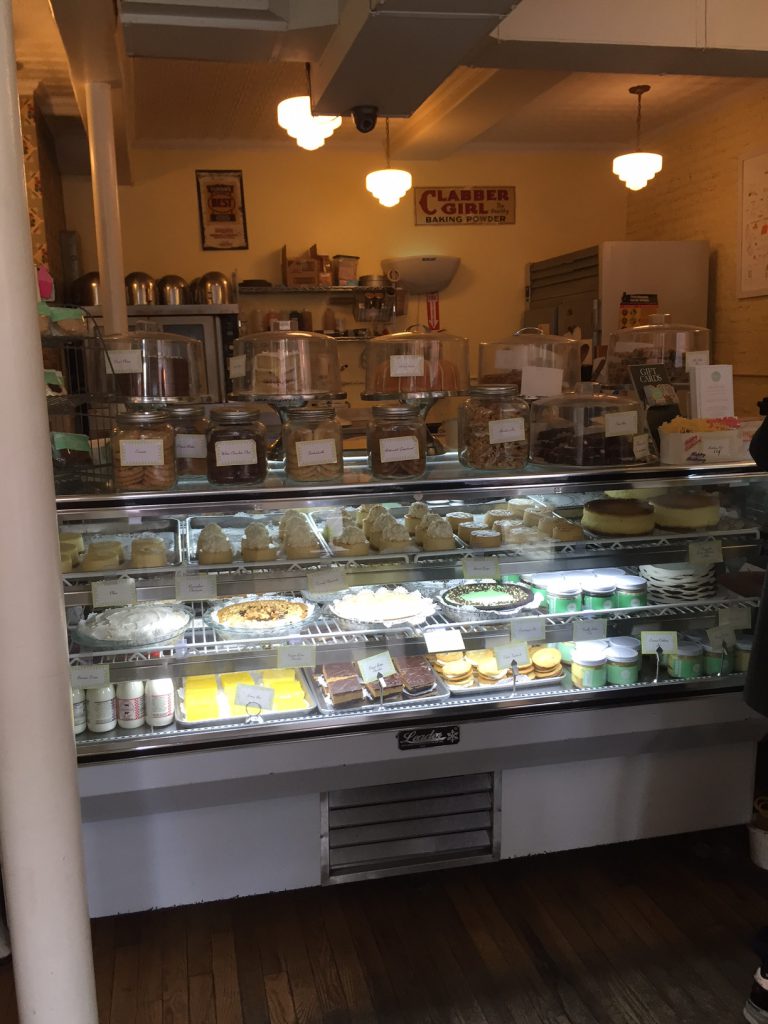
The first stop on Cupcakes in the City is Billy’s Bakery.

IMG_4611
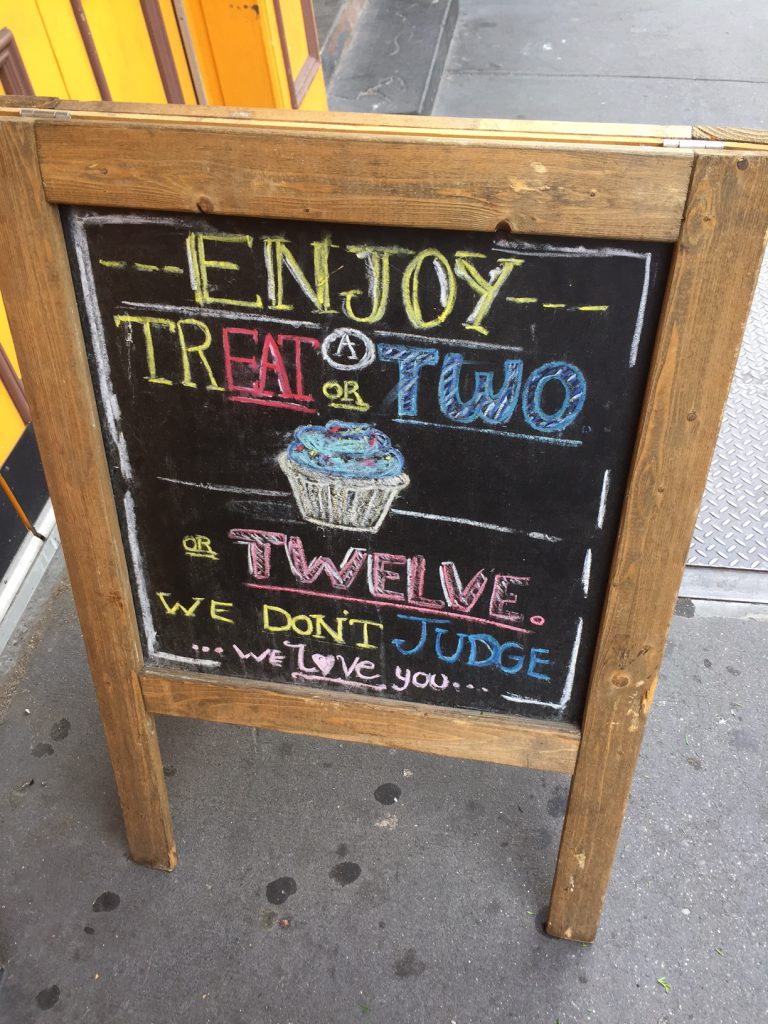
Billy’s Bakery – NYC

Details:
Location – 184 9th Ave, New York, NY 10011
Cupcake Price – $3.25/each
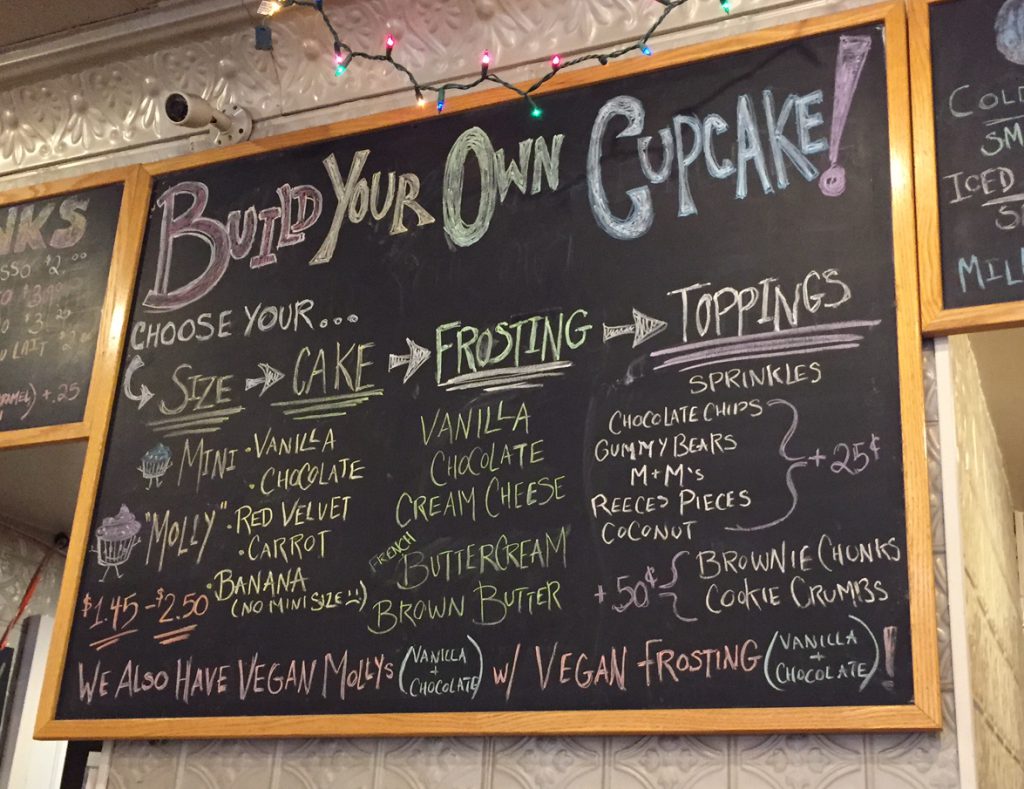
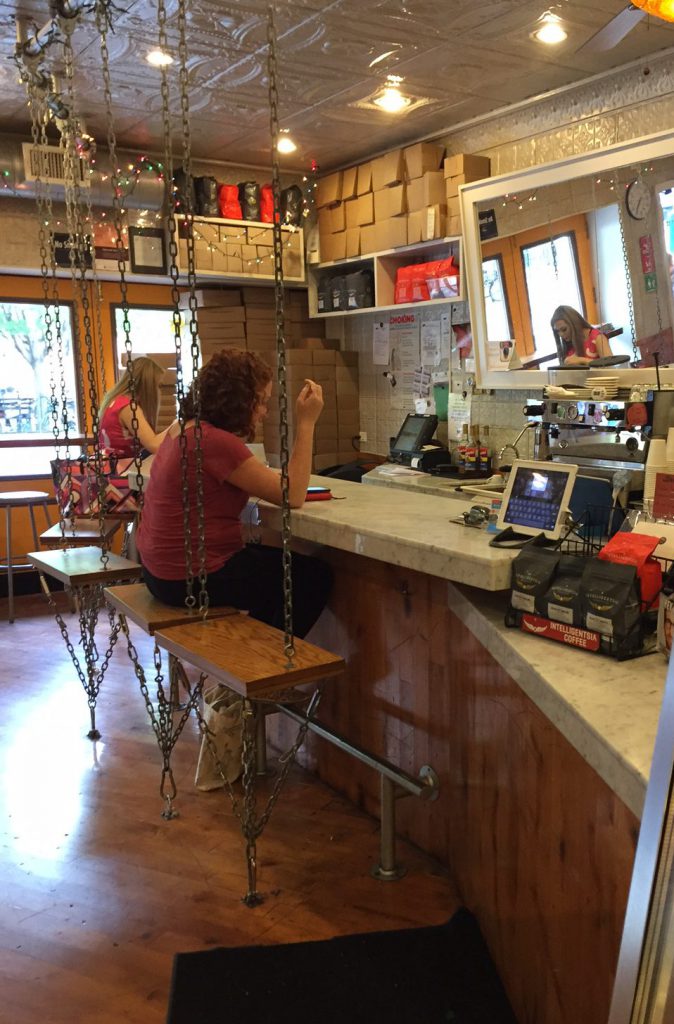
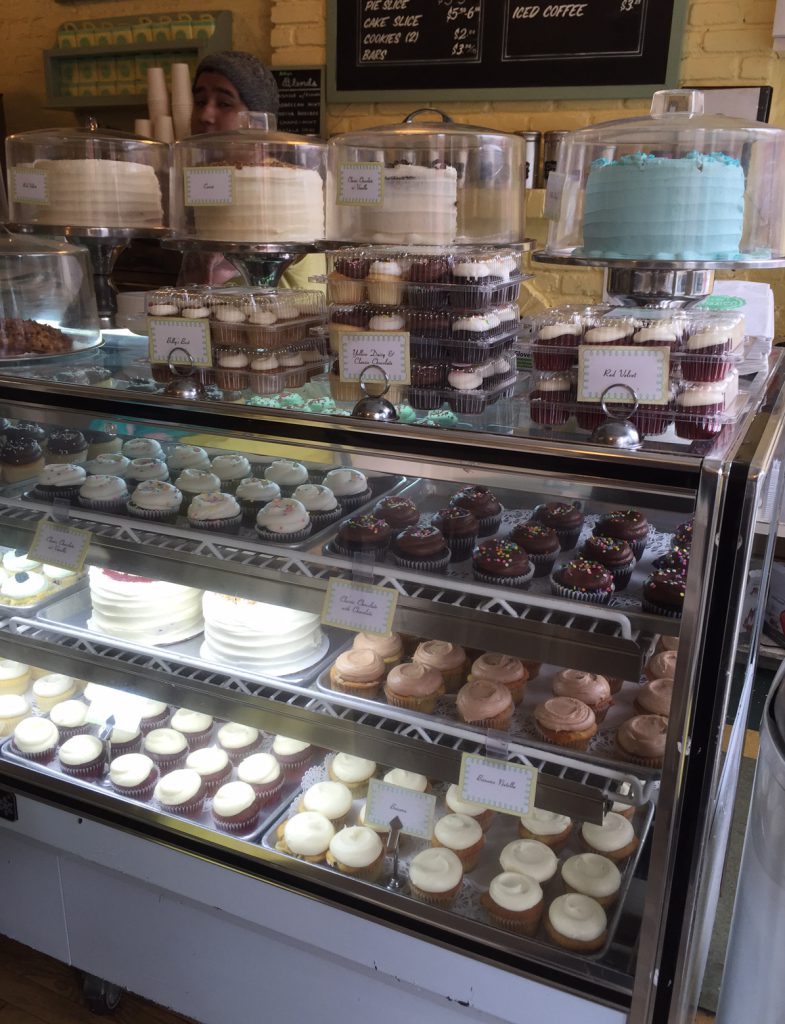
The bakery itself is really cute. It’s small, but there’s plenty of room to walk around, check out the two display cases, and there’s even a couple small tables with chairs. At Billy’s a vanilla cupcake is called a “Daisy.” Besides Daisy and Chocolate cupcakes, they had red velvet, lemon, a gluten free option, and a couple other speciality flavors. You can find a variety of cookies, cakes, and pastries at Billy’s as well.

IMG_4610

Cupcake Logistics 

IMG_4615
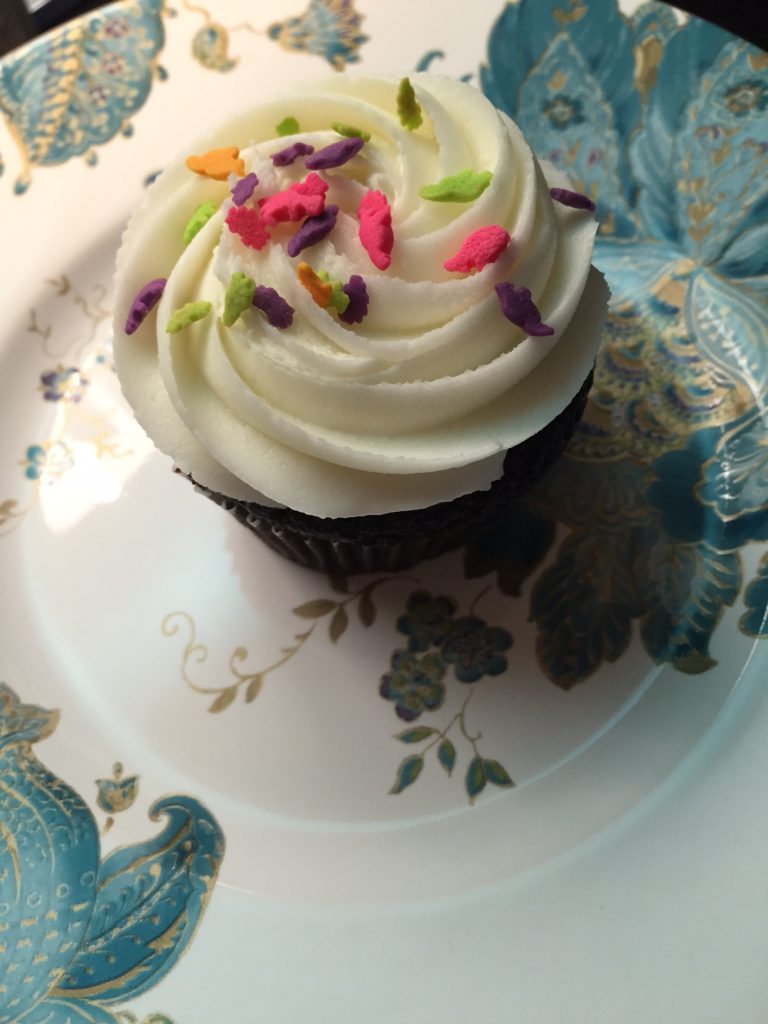
Appearance: 
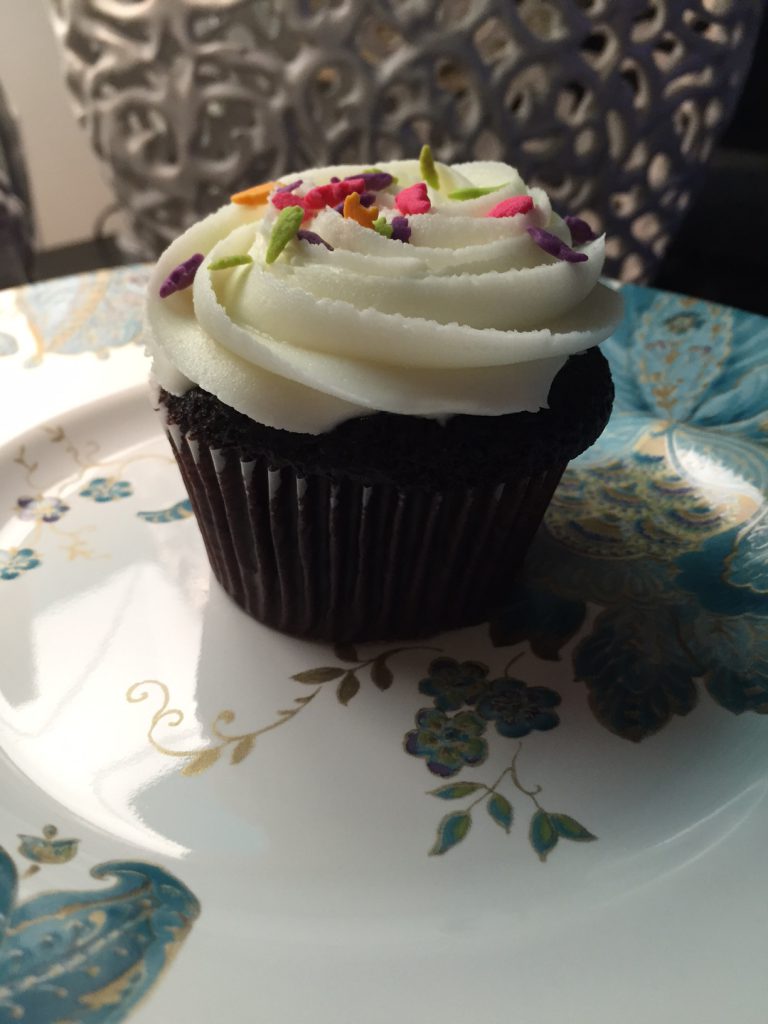
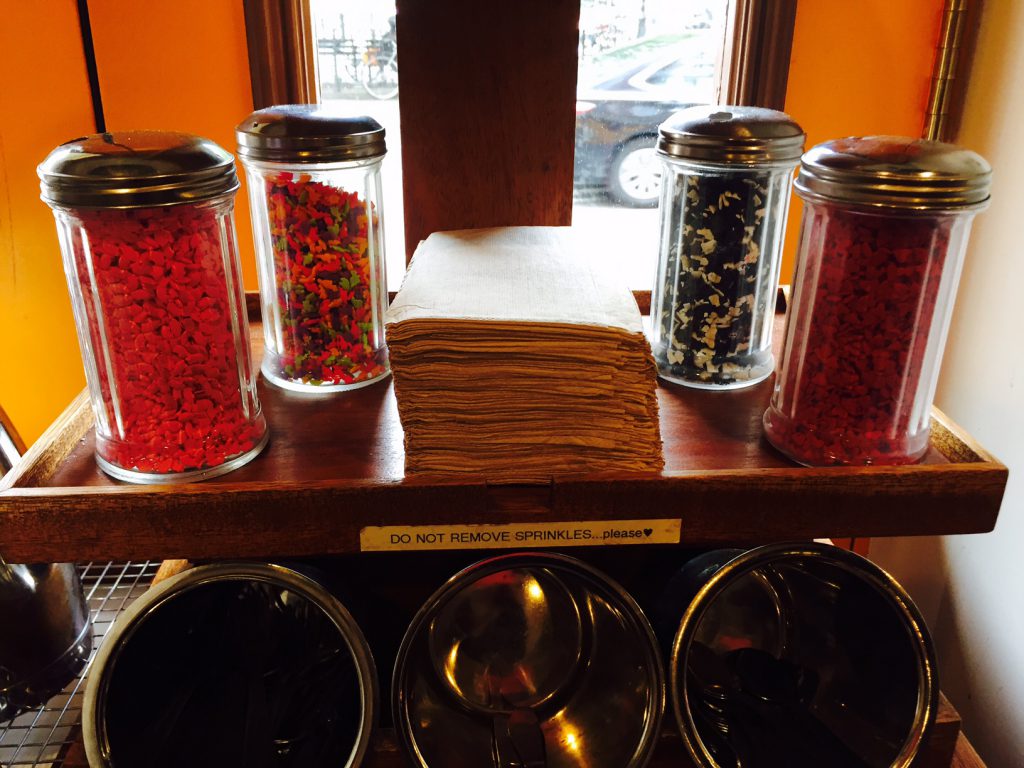
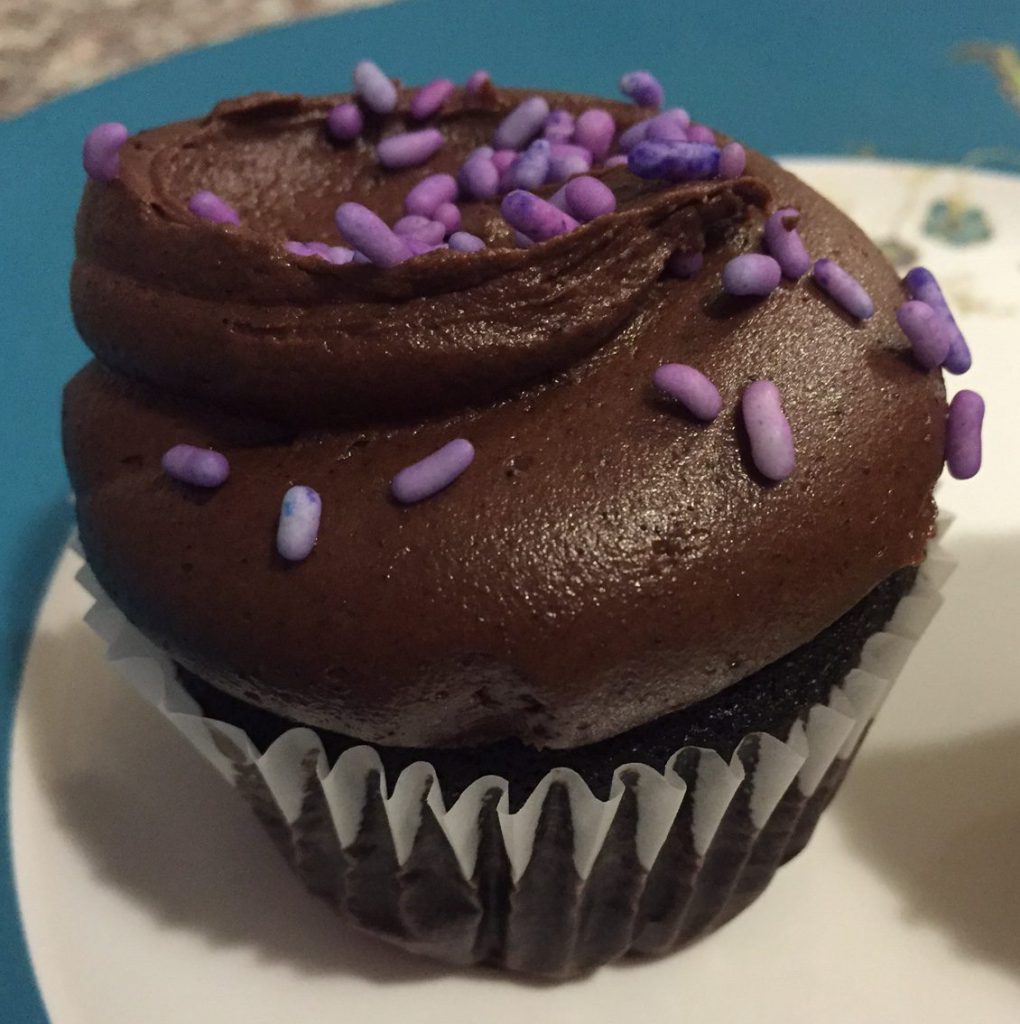
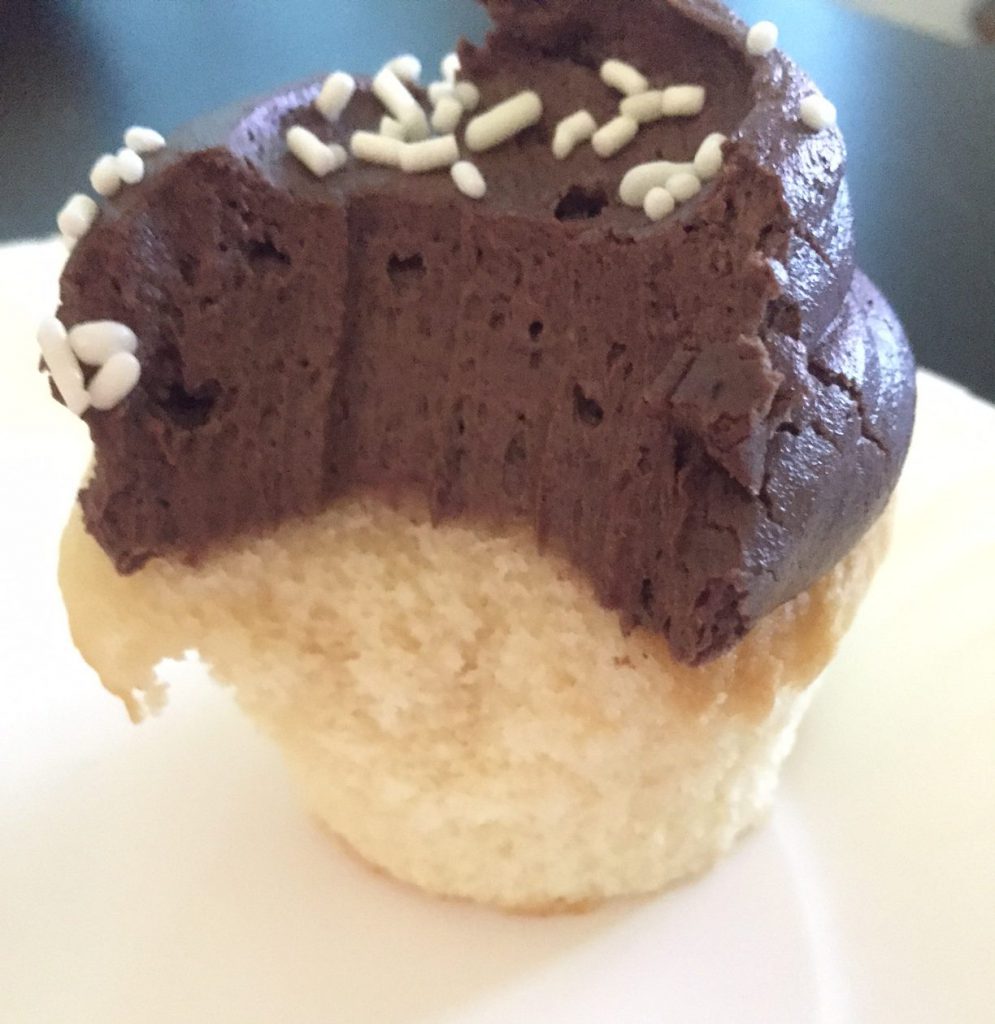
Clean and simple with a sprinkle of sprinkles
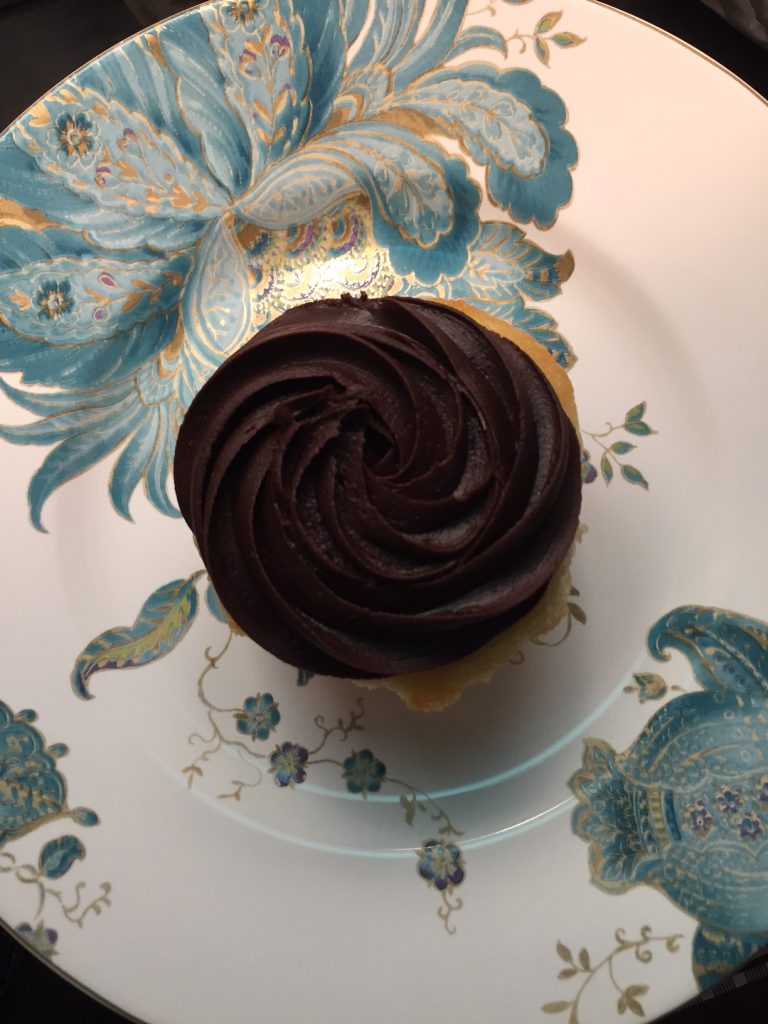
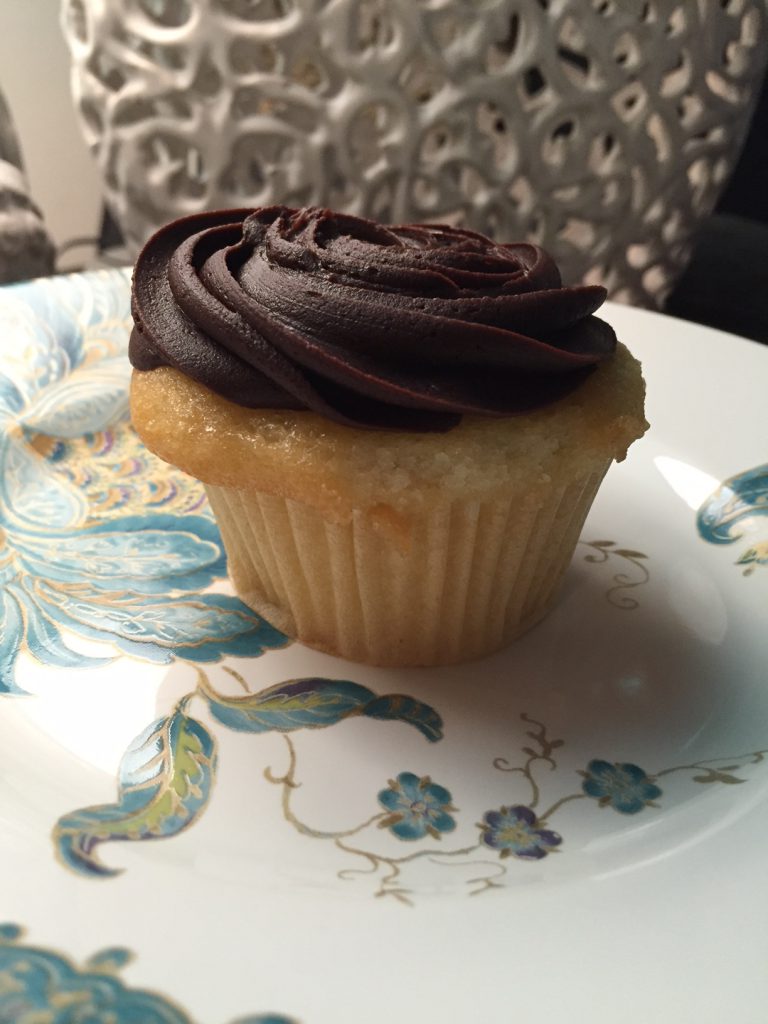
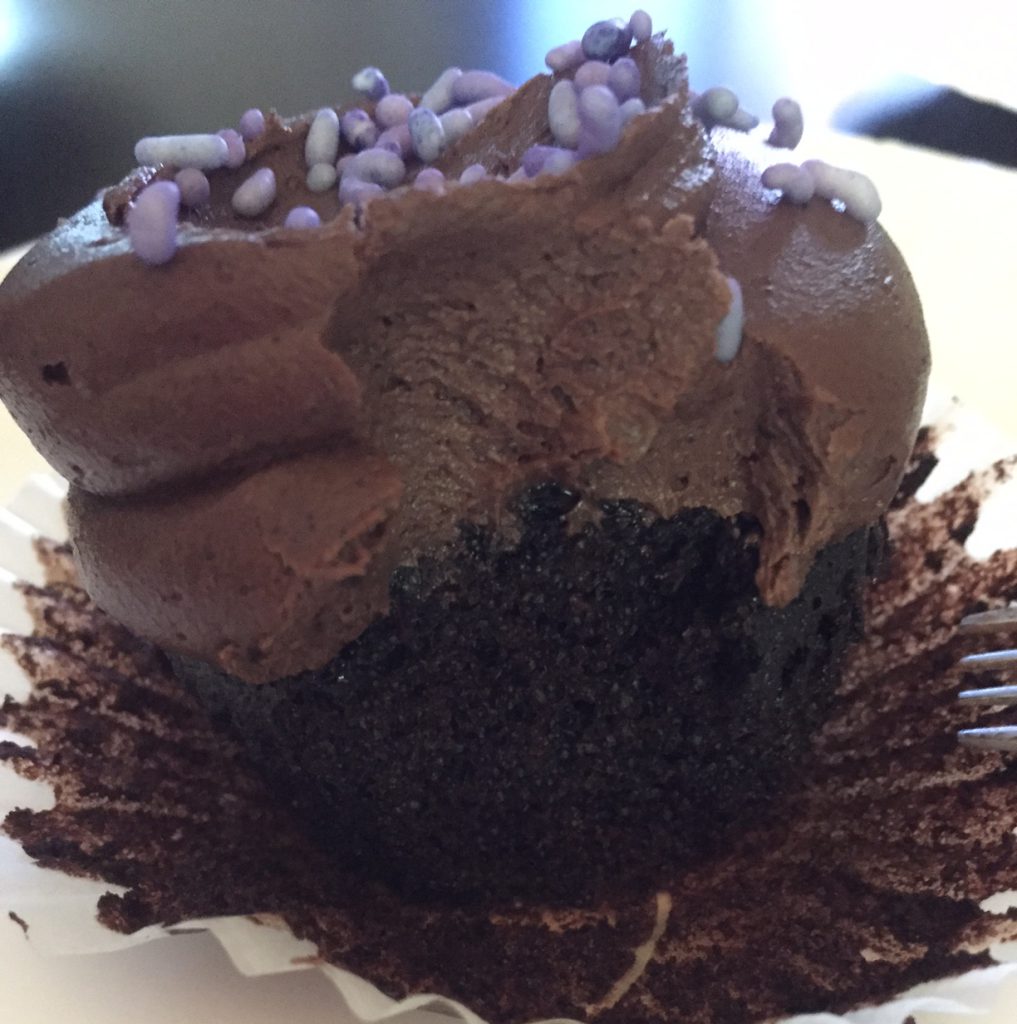
Frosting: Creamy with a light chocolate taste. The cake to frosting ratio was just right.
Cake flavor/consistency:  The cakes didn’t have an overwhelming flavor of vanilla or chocolate. In regards to moisture, I wouldn’t say the cakes were dry or overly moist, but somewhere in the middle.

IMG_4617

IMG_4621

IMG_4622

For me, the frosting really made the cupcake. It had a stronger flavor and really brought everything together.

Would I go back to Billy’s bakery? Definitely! I can’t really complain about anything. I enjoyed the cupcake, and it didn’t leave me feel guilty or sick to my stomach like some very sweet cupcakes can.

Until next time!

<3 Cupcakes in the City

Continue Reading

Makeup free at work

IMG_3948
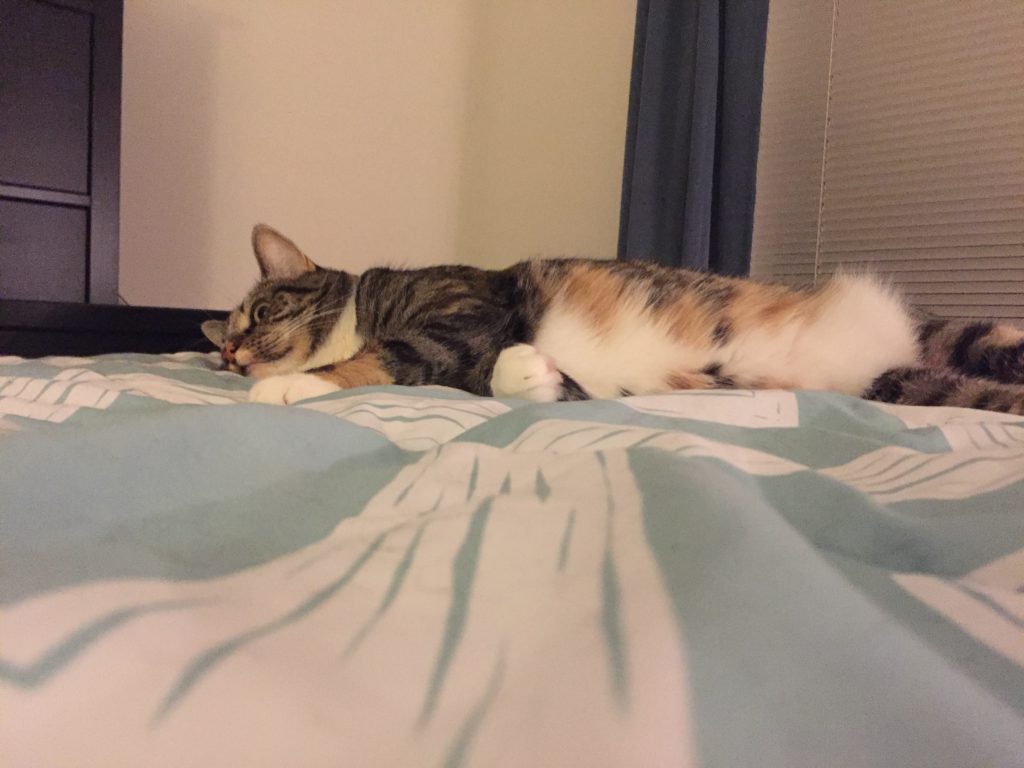
My cat Pepper – looking as sleepy as I feel.

Let’s talk about makeup for a second. I’m not a huge makeup person, never have been. However, I do love my mascara and wear it basically everyday, with the occasional liquid eye liner added in for extra effect, but that’s the extent of my look.

Today, for the first time ever, I forgot to put mascara on for work and found myself in a slight panic. Maybe it’s because I only got 4-5 hours of sleep last night, but for some reason I found myself worrying about what everyone in the office was going to think. Was someone going to point it out? Would someone think I looked ill?

Now that I sit here, I wonder to myself, why do we women allow ourselves to worry so much about everyone’s perception of us? I’m a rather self conscious and shy person, so I think that plays into things now and then, but I wish I didn’t worry so much about what everyone thinks. I’m going to work on.

Here’s to makeup free workdays and feeling comfortable in your own skin. I challenge you to forget your makeup too.

Continue Reading

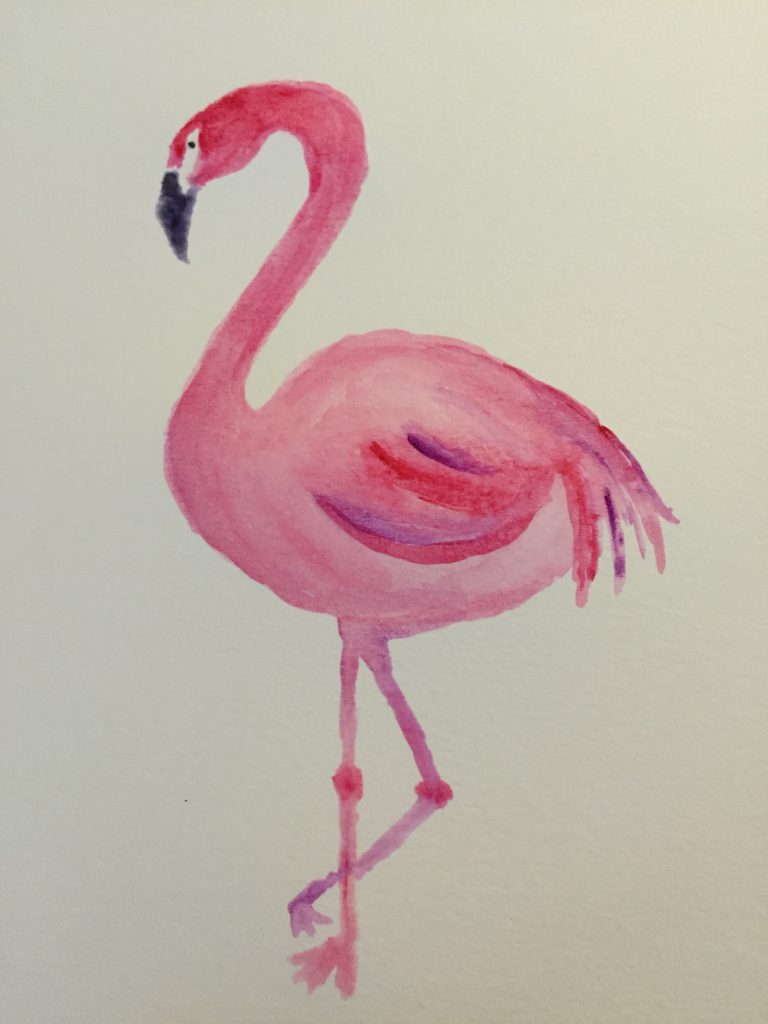
DIY – Watercolor Flamingo

I’ve been big into watercolors lately. During my spare time on the weekends, or after a long stressful day at work, I love to pull out my Koi Watercolors Pocket Field Sketch Box and paint. I’ve been working on a personal series of paintings for my apartment, focusing on “under the sea” as a theme. I’ll be sharing a bit about that in the near future.

When my mom saw my sea life paintings she fell in love with them, and wondered if I could make her a flamingo painting. Flamingos are my mom’s favorite. I don’t know why or how they came to be her favorite, but they are. I’ve never created a flamingo before, so here’s to a new challenge!

Let’s start by drawing out the shape of the flamingo’s neck and body with a wet brush, no paint.

IMG_4604

Once we have water down on the paper, it’s time to add some color. I mixed red with a lot of water to dilute the color.

IMG_4605

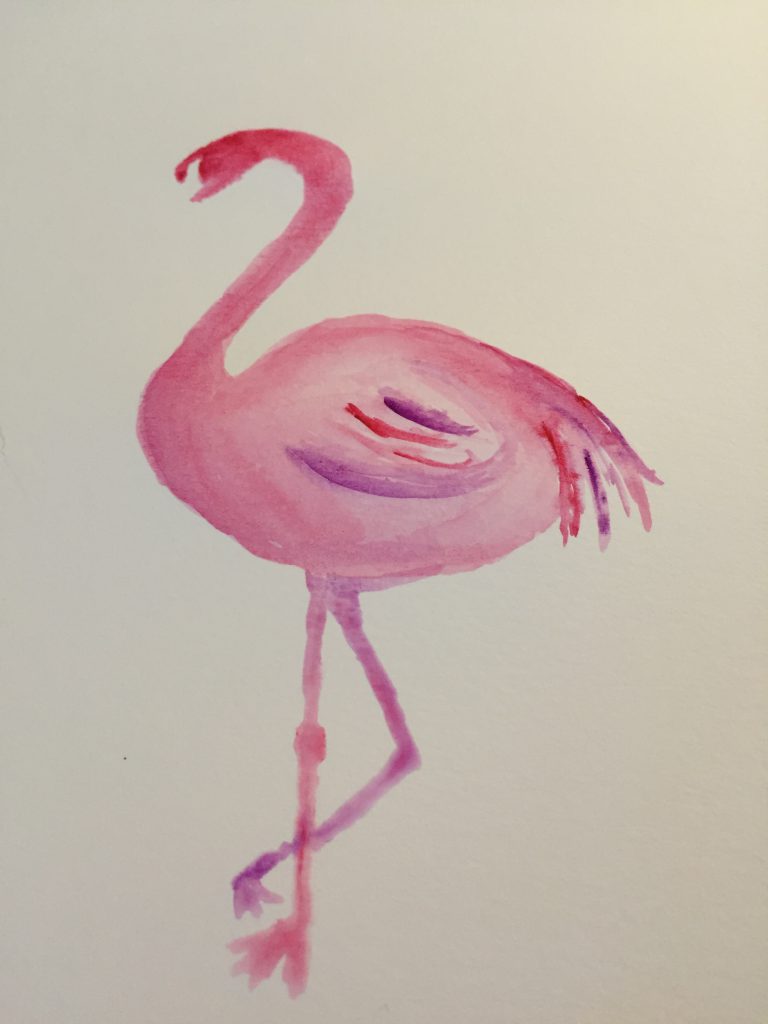
Continue to add paint to the body of the bird, adding in some feathers with deeper hues of red or purple. Once you’re happy with the body and neck of  the flamingo, it’s time to add legs. Flamingos are known for standing on one leg, so that’s how we’ll make our flamingo stand.

IMG_4606

With a neck, body, feathers, and legs, our flamingo is almost complete! You’ll notice in the picture below that I haven’t given the flamingo a face yet. I wanted the paint around the face to dry before I brought in a harsher color for the beak and eye.

IMG_4597

Mix purple, blue, and a spec of black together, adding in a bit of water to make the color not so harsh. Then, slowly create an outline for the beak, avoiding the pink parts of the head.

IMG_4607

Add an eye with a fine point brush – just one small dab will do, and you should end up with the following.

IMG_4600

After adding in my beak, I felt the face was a little too skinny, so I added a little more pink to provide fullness to the face. And with that, under 15 minutes you have a pink flamingo ready for framing!

IMG_4602

Happy painting!

Continue Reading

Why I decided to cancel my H2BAR subscription

IMG_4304

Why did I give up on the “How to be a Redhead” subscription box?

As a redhead, it can be frustrating to find yourself in the beauty aisles and see products only designed for blondes and brunettes. When I heard that the How to be a Redhead girls were going to be launching a subscription box, I had to be apart of that and signed up immediately.

I’ve been with H2Bar since the beginning of their subscription service. The first few boxes were really neat, and I loved getting full sized products in most of the boxes. None of the products were things I had tried before, so it was exciting to receive my brightly colored box at the start of every month.

IMG_4582


Variety quickly seemed to come to an end. There’s only so many color depositing conditioners a girl can use or want. To be honest, I tossed anything that was color depositing because I have a fear something will happen to my hair and it won’t look as nice and natural as it does now. This month for example, I received samples for a hand cream that I received many months ago. Sure, for someone who hasn’t been subscribing since the first box this wouldn’t be noticed, but I took it as a sign that the company is running out of ideas. There’s only so many “redhead” friendly products or items designed for just us.

IMG_4583

Minor complaints:

  1. One of my boxes came 1-2 weeks late
  2. Once or twice one of the items listed on the item sheet wasn’t included in my box. I didn’t feel like going through the hassle of contacting the company and complaining. On Instagram I saw a couple people in past mention an item was missing, but the company didn’t have any spares to give out.
  3. Some of the products were really a stretch. Hand cream doesn’t really = redhead.
  4. I can only use so many facial creams. You probably should try these out one at a time, and I just don’t have time to go through 5 different facial creams effectively to see what works best.

Ultimately, I think the idea of H2Bar is great, and I support anything that’s trying to make a spot in the world for redheads, but I just felt like my excitement for new boxes was waning. The products were starting to get boring, and honestly, my bathroom cabinets are stuffed full of H2Bar goods that I haven’t even had time to try 1/3 of them out.

One thing I am excited about from the girls at How to be a Redhead is their new book. My boyfriend surprised me with it, knowing I was dying to check it out. I’ll make sure to share my thoughts after reading it.

Perhaps one day I’ll be back to subscribing to H2Bar, but for now, I’m going to take a break and find some time to try out everything that’s piled up in my cabinet.

In place of my H2Bar subscription, I’ve decided to try out FabFitFun, a seasonal subscription box. I’ve just signed up for my first box today so I can’t say how the service is, but I will certainly report back soon! Want $10 off your first subscription? Check out this fabulous lady’s post.

Continue Reading

Stitch Fix Review – May 2016

IMG_4520

This month I ordered my 5th fix from Stitch Fix, a service where a personal stylist collects tidbits from you via a style profile (and optional Pinterest boards) and ships out a package of 5 goodies (clothes, accessories, shoes) for you. Learn more details about Stitch Fix in my previous post.

IMG_4474

This month I asked for 3-4 sleeveless or short sleeve tops and told my stylist to pick something fun for the rest of the items. I also shared a link to my Pinterest board and called out two tops I really liked the style of. My past fixes haven’t been super successful, but for this fix, my stylist Kim really listened.

My fix consisted of 4 tops and one dress. I was secretly hoping for a burgundy satchel bag, which I told Kim I would love to have if they had one on hand, but I was pleased to get a box full of clothes that fit my personality. Now onto the fashion!

#1 – Ardenas Split Neck Blouse by Collective Concepts
This Collective Concepts top is lightweight, colorful, and as my stylist suggested, looks great with white cropped pants. I’ve seen this top a ton on Pinterest, and even pinned it myself. See, Pinterest can pay off when it comes to working with your Stitch Fix Stylist!

IMG_4516

IMG_4534
Ardenas Split Neck Blouse by Collective Concepts | Cropped Pants from Delias

#2 – Florizel Henley Blouse by 41Hawthorne 
I wasn’t expecting to get a top like this in my fix, and while it’s “short” sleeved looking in the picture, it can actually unroll into a long sleeved top. I love the color and fabric on this blouse. Definitely something I’ll be wearing once it’s no longer in the 90s here in New York/New Jersey.

IMG_4517

IMG_4540
Florizel Henley Blouse by 41Hawthorne

#3 – Aerin Dress by Market and Spruce
I’m in love with everything about this dress. Another Pinterest favorite amongst a lot of you ladies. The dress comes with a light lining built in, and overall is light and flowy – perfect for Spring and Summer. You also can’t go wrong with a wrap tie dress, which flatters just about every body type, easily giving everyone a great little waist.

IMG_4513

IMG_4523
Aerin Dress by Market and Spruce

#4 – Ronan Crochet Detail Blouse by Daniel Rainn
I was really hesitant about this blouse. I received a size Medium and think that I probably could have gotten away with a Small. What you can’t tell from the image is that this top is a hi-low style, where the back is significantly longer than the front. Additionally, the blouse has a drop waist, which would be a lot more flattering if it was tighter, but the pattern and colors are too cute to pass up. I tried pairing the top with a belt to see if that would help with waist definition (see below). I think I’ll have to keep playing around with the look to make it work best for my body.

IMG_4514

IMG_4551
Ronan Crochet Detail Blouse by Daniel Rainn
IMG_4558
Ronan Crochet Detail Blouse by Daniel Rainn

#5 – Hollace Button Front Blouse by Aratta
This floral blouse just screams Spring. I was hesitant about the fit with this top too, thinking I could probably fit into a Small rather than the Medium I received. The arm holes are a bit large, so your bra may show. The back has a funky cut to it (see my pic below), making it really airy and aesthetically unique. The back is also a lot longer than the front, another hi-low style which would look perfect with leggings. While we’re on the topic of leggings, I’m not a leggings as pants kinda girl, but this top is long in the front and back, making it a great fit for leggings without showing off anything you don’t want to show.

IMG_4515

IMG_4547
Hollace Button Front Blouse by Aratta
IMG_4548
Hollace Button Front Blouse by Aratta

Some final thoughts: The 25% discount dilemma is real. If you end up keeping everything in your fix you get a nice 25% discount off the total cost. I wasn’t a super huge fan of the cut of the Daniel Rainn Ronan Crochet Detail Blouse, probably due to sizing, but really liking everything else in my fix made me decide to keep everything so I could get the 25% discount off my order. Ultimately, I’m super happy with this fix and feel like my boxes are improving again. I look forward to ordering another box and seeing what Kim has in store for me 🙂

Suggestions for a better fix:

  1. Be very specific – if there are certain pieces or types of clothing you really want, provide that in your styling note to your stylist.
  2. Create a Pinterest Board. We know last time that didn’t work out so great for me, but this time my stylist checked out my board and really tried to capture my style from the examples I pinned.
  3. Call out designers or names of actual articles of clothing – your stylist may not provide those exact items but they’ll start to get a better sense of what style you’re into

Don’t forget to follow my Pinterest Boards for more Stitch Fix fun!

What are you waiting for? Give Stitch Fix a try!

IMG_4553-ANIMATION

Continue Reading